Full moon

Ben Egbert

Forum Helper
Staff member
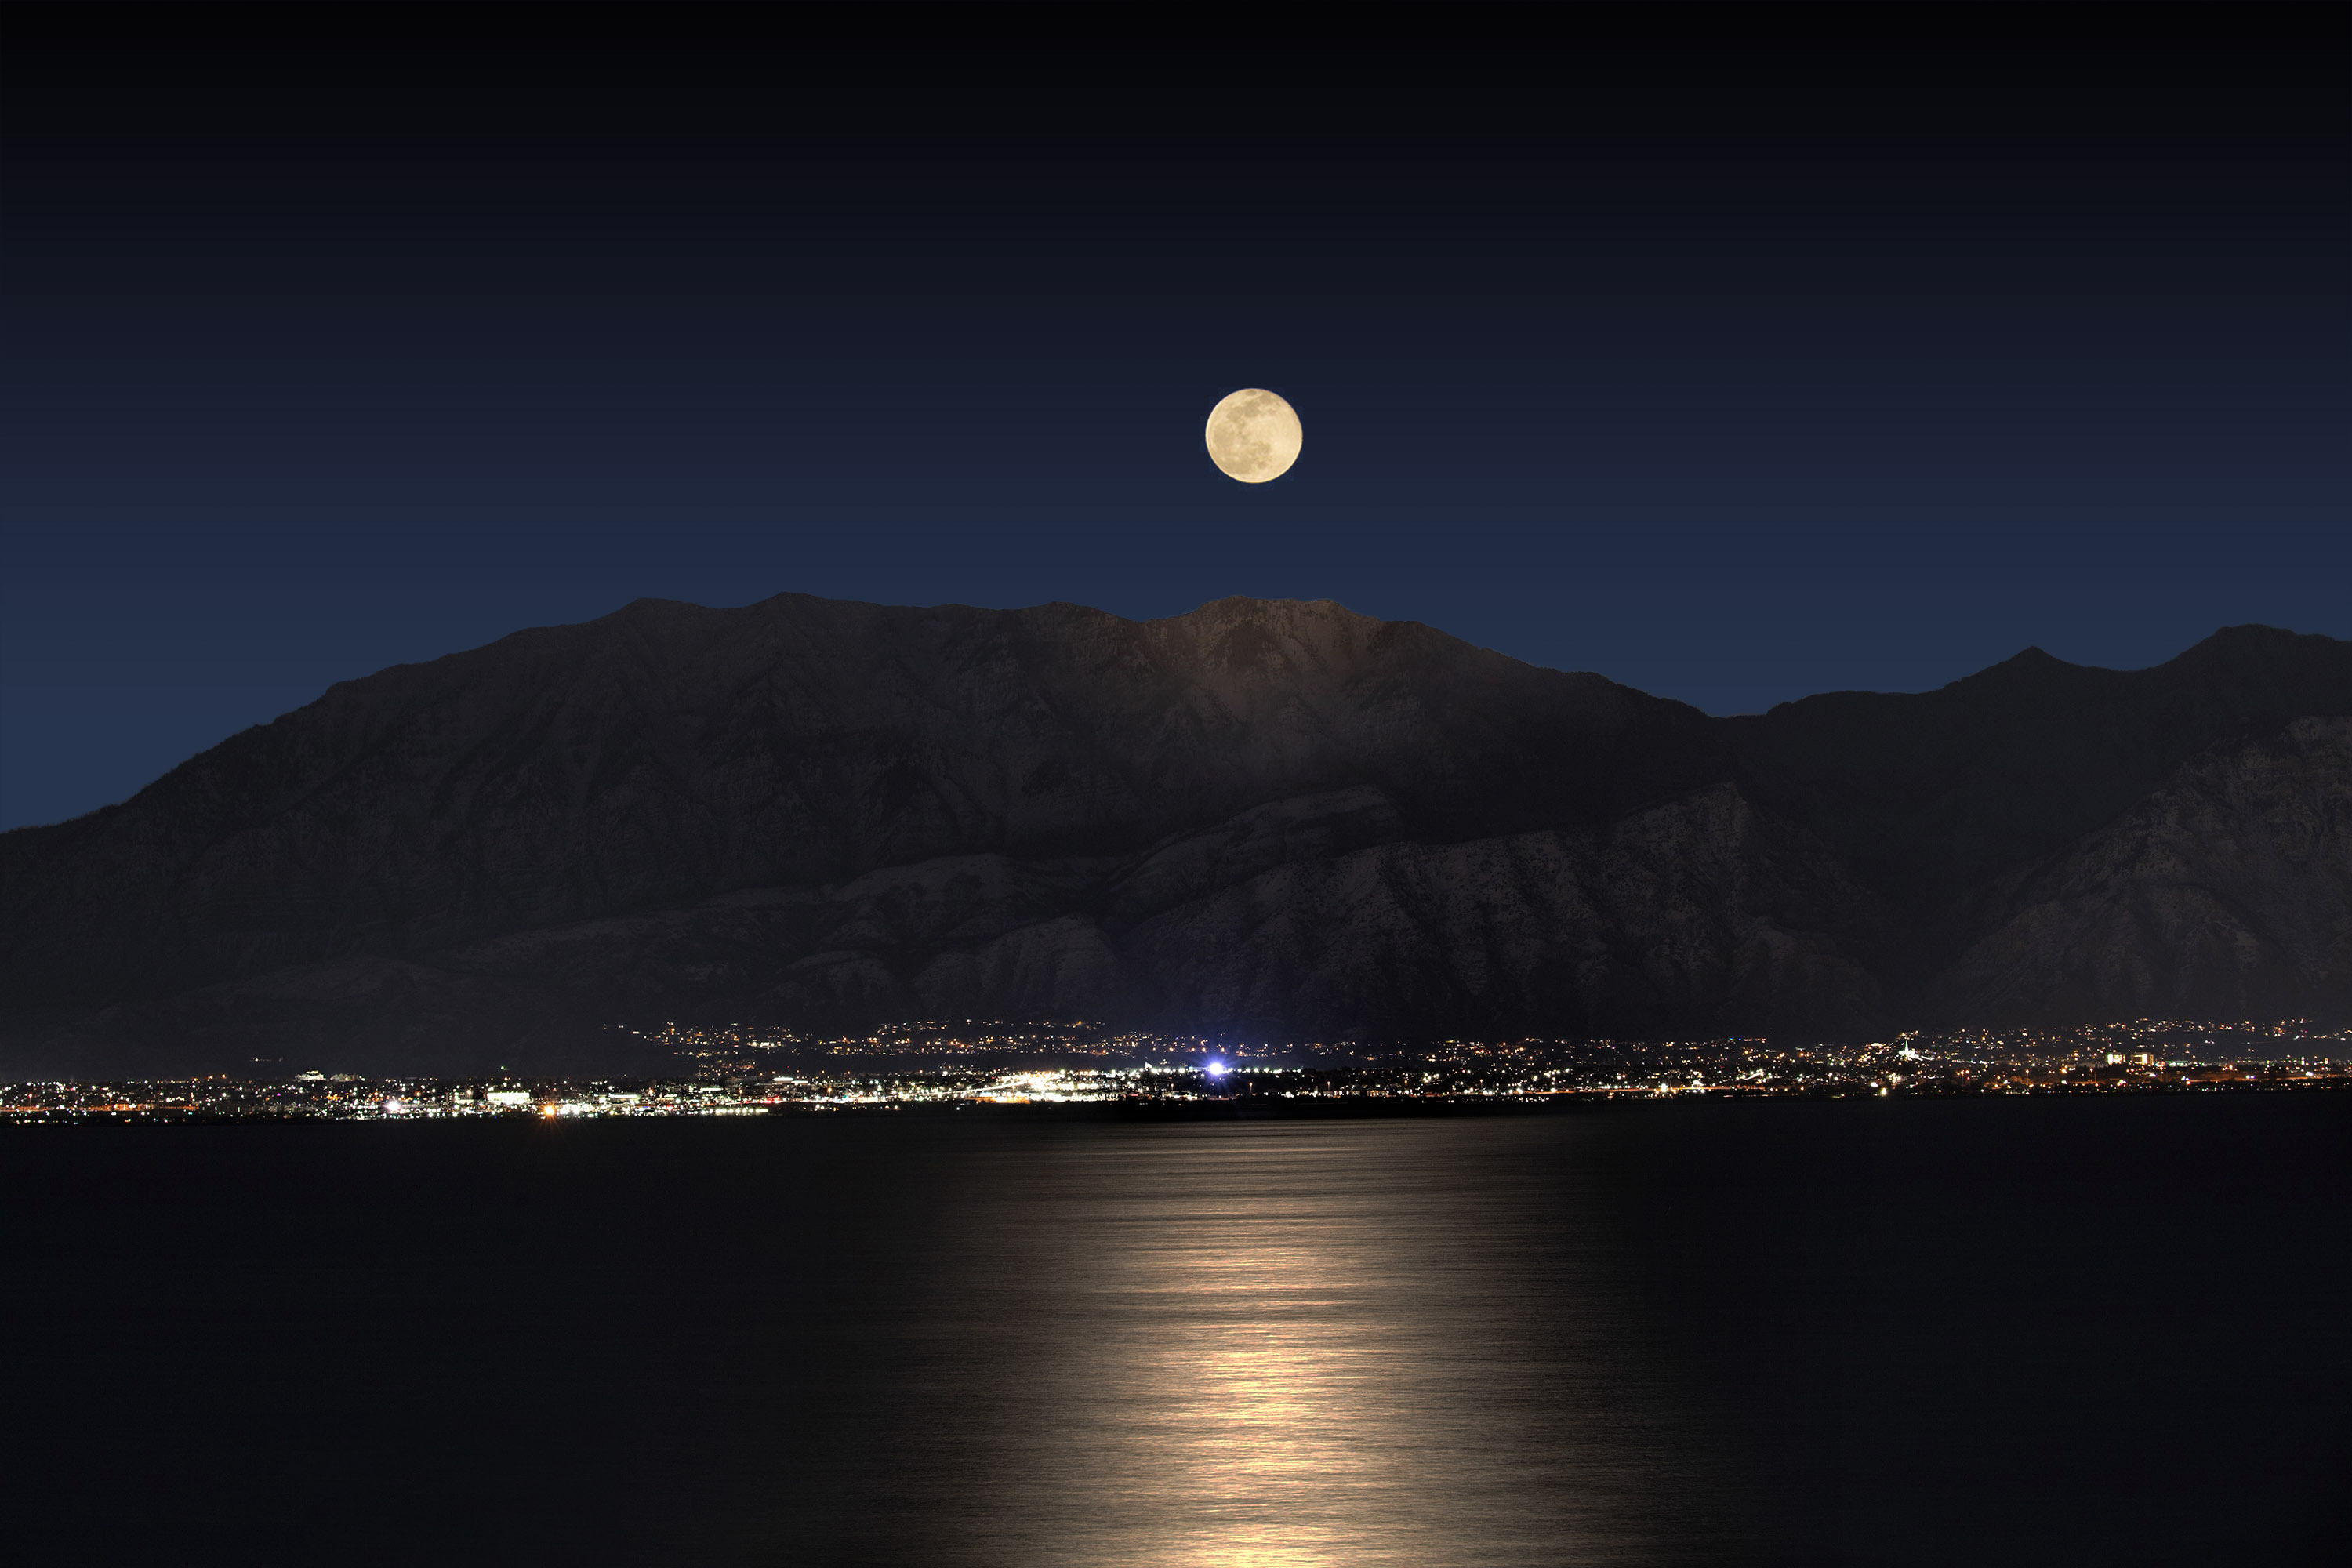
Here is a full moon shot from last month. Unfortunately the sky was total dark by the time the moon cleared the mountains. Jim says the cure is to go two days earlier.

But I want to see if anyone can insert the good moon into this shot and tame the glow that surrounds the moon. Please explain what your technique was to accomplish this.


My best effort without he good moon (never able to insert the good one to my liking)


200209-12384-5DS R.jpg


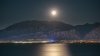
A 3000 pixel straight out of camera version to play with


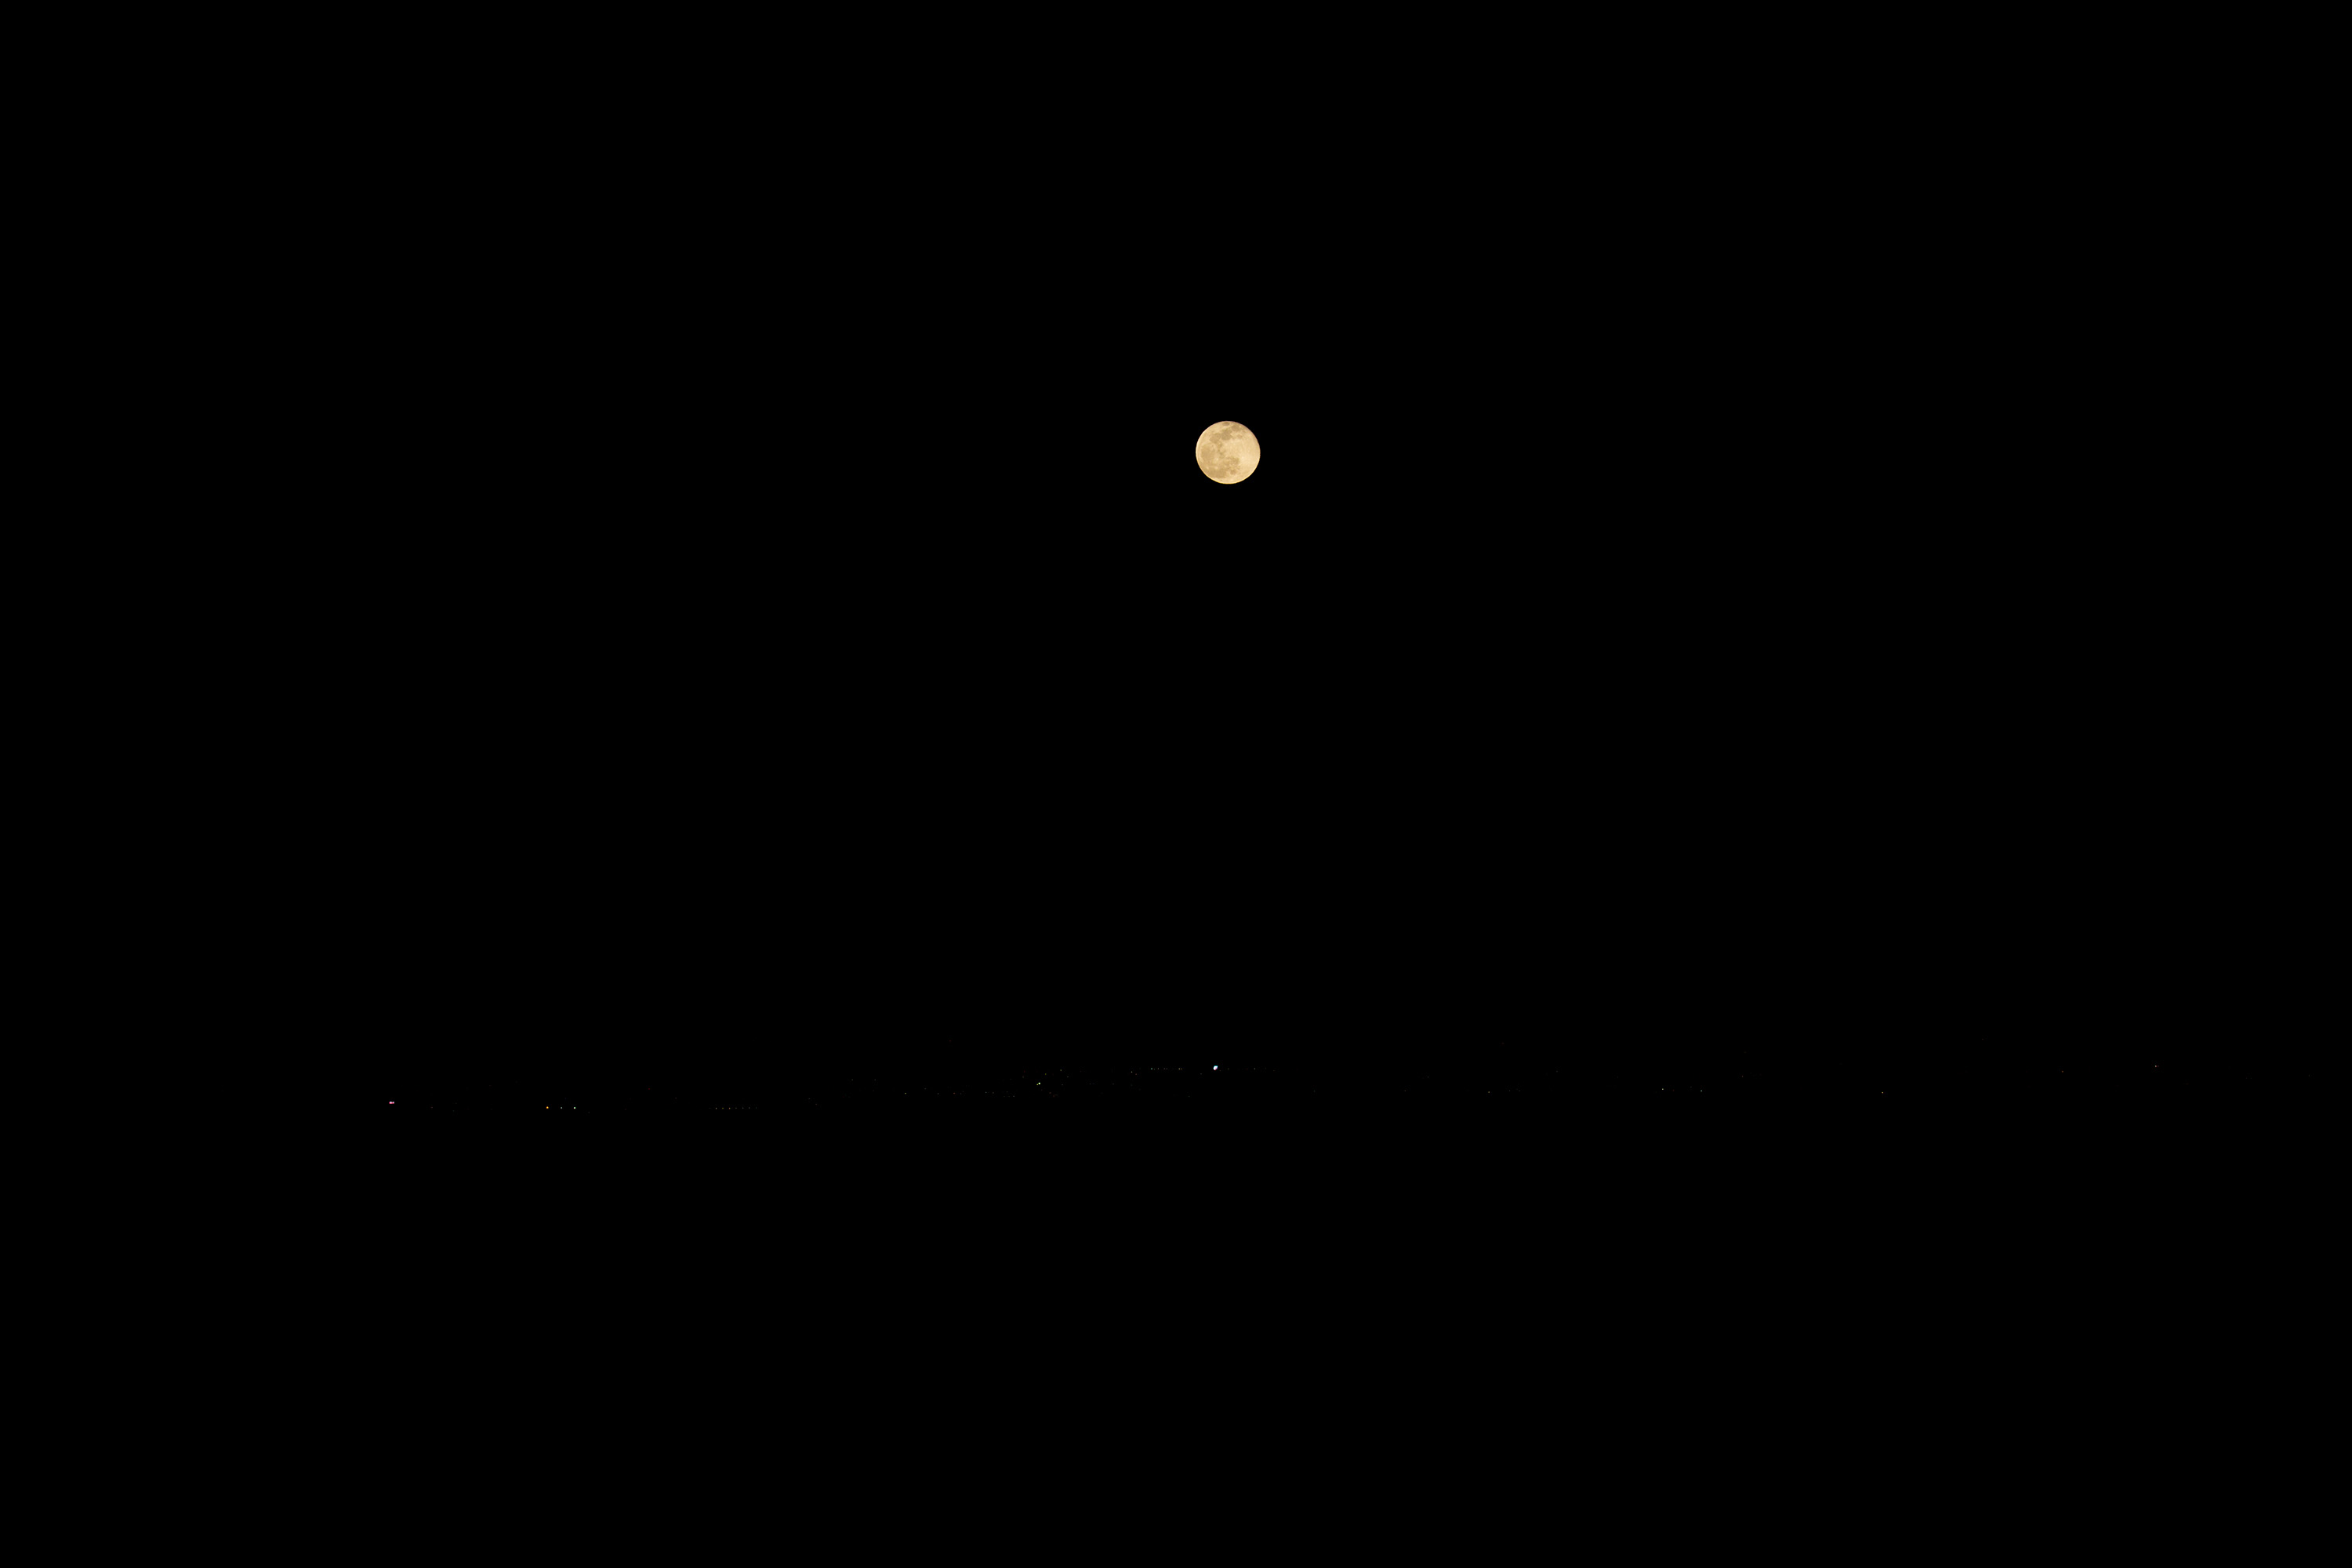
A well exposed moon.
 

Attachments

JimFox

Moderator
Staff member
Ben, Can you post your well exposed moon with 2 things.... or maybe 3?

Here is what I would do with the well exposed moon.

1. 100% shadow recovery
2. 100% Highlight recovery
3. 100% Whites Recovery
4. Increase the Exposure until the moon is back to looking like it is in this shot. You should be able to increase it a stop or two. The goal would be to get the sky to look as close to what it looks like in your top photo where the moon is blown out.

You may want to consider with critiques like this to just add the DNG files in like is done with Let's Play so that we can have full raw capability.
 

JimFox

Moderator
Staff member
Though... with all of that said, I like what Jameel did.

Jameel, can you describe your technique?
 

Jameel Hyder

Moderator
Staff member
I took the image into Camera Raw filter, use the graduated filter tool, centered at the moon down to just below the mountain peaks. Pulled the exposure down approx 3 stops till most of the glow around the moon is down to accepted level. Then used range mask set to luminosity and slider most of the way to the right to only affect the brightest part. Using the visualization of the mask helps.

Copy the moon from the other image, selected black and delete. Used free transform to make it a bit larger.

On the combined image, again the camera raw filter, adjust shadows, highlights etc. to taste.

EDIT: That should be ~2 stops, not 3
 
Last edited:

Ben Egbert

Forum Helper
Staff member
Ben, Can you post your well exposed moon with 2 things.... or maybe 3?

Here is what I would do with the well exposed moon.

1. 100% shadow recovery
2. 100% Highlight recovery
3. 100% Whites Recovery
4. Increase the Exposure until the moon is back to looking like it is in this shot. You should be able to increase it a stop or two. The goal would be to get the sky to look as close to what it looks like in your top photo where the moon is blown out.

You may want to consider with critiques like this to just add the DNG files in like is done with Let's Play so that we can have full raw capability.
Will do
I took the image into Camera Raw filter, use the graduated filter tool, centered at the moon down to just below the mountain peaks. Pulled the exposure down approx 3 stops till most of the glow around the moon is down to accepted level. Then used range mask set to luminosity and slider most of the way to the right to only affect the brightest part. Using the visualization of the mask helps.
Copy the moon from the other image, selected black and delete. Used free transform to make it a bit larger.

On the combined image, again the camera raw filter, adjust shadows, highlights etc. to taste.
what is range mask

Great job by the way.
 

Jameel Hyder

Moderator
Staff member
The range mask is a new feature available in CC and was introduced in 2019 I believe. It allows the graduated filter to be applied to either a range of luminosity or a range of color. Hopefully the following screen shots should help.

1. Grad filter applied. No range mask selected.

snip-1.jpg


2a. No luminosity mask - visualization shows the area affected by the grad filter (highlighted area).

snip-4.png


2b. Luminosity mask selected and visualization turned on. The color highlighted area shows what is affected.

snip-2.png


3. Visualization turned off to see how the image looks with the setting.

snip-3.png


The tool is quite powerful. It completely avoids the tell tale sign of a grad filter by targeting the right areas of the image.

Hope this was helpful.
 

Ben Egbert

Forum Helper
Staff member
Here is a 3000 jpg for Jim. Your settings did not work. I ended up with 2.3 exp, 100% shadow, -51 highlights and +47 whites.

Jameel, I will try your method next.

200209-12382-5DS R sooc 2.jpg
 

AlanLichty

Moderator
Good summary of Range Masking in ACR Jameel. The interface looks slightly different when you use this masking feature in LightRoom but it works the same way. Not sure how I ever lived without it.

Ben - when you start playing with Range Masks you will find that this masking feature is available in all of your primary ACR tools - gradient tool, brush tool, as well as the radial filter tool. It opens a huge range of possibilities for editing.
 

JimFox

Moderator
Staff member
Here is a 3000 jpg for Jim. Your settings did not work. I ended up with 2.3 exp, 100% shadow, -51 highlights and +47 whites.

Jameel, I will try your method next.

View attachment 25764
Thanks Ben, the settings I gave were just a rough idea.

I haven't used Range Mask, it looks pretty powerful. Thanks for the explanation and demonstration Jameel. I will have to play with that sometime.
 

Peano

Member
I'm a new guy here, and so I'm late to this topic. But since it's an evergreen processing challenge, here's what I tried (all in Photoshop CS6):
  • Put the good moon/sky into the original image using a layer mask.
  • Added a lighter gradient to the sky along the mountain ridge (to define that ridge better and give the sky more depth).
  • Used Topaz Clarity to bring out the textures of the mountains a bit more.
  • Toned down the brightness of the moon's reflection in the water.
  • Removed treetop at lower left.
 
Last edited:
Top Bottom