Kyle Jones
Moderator
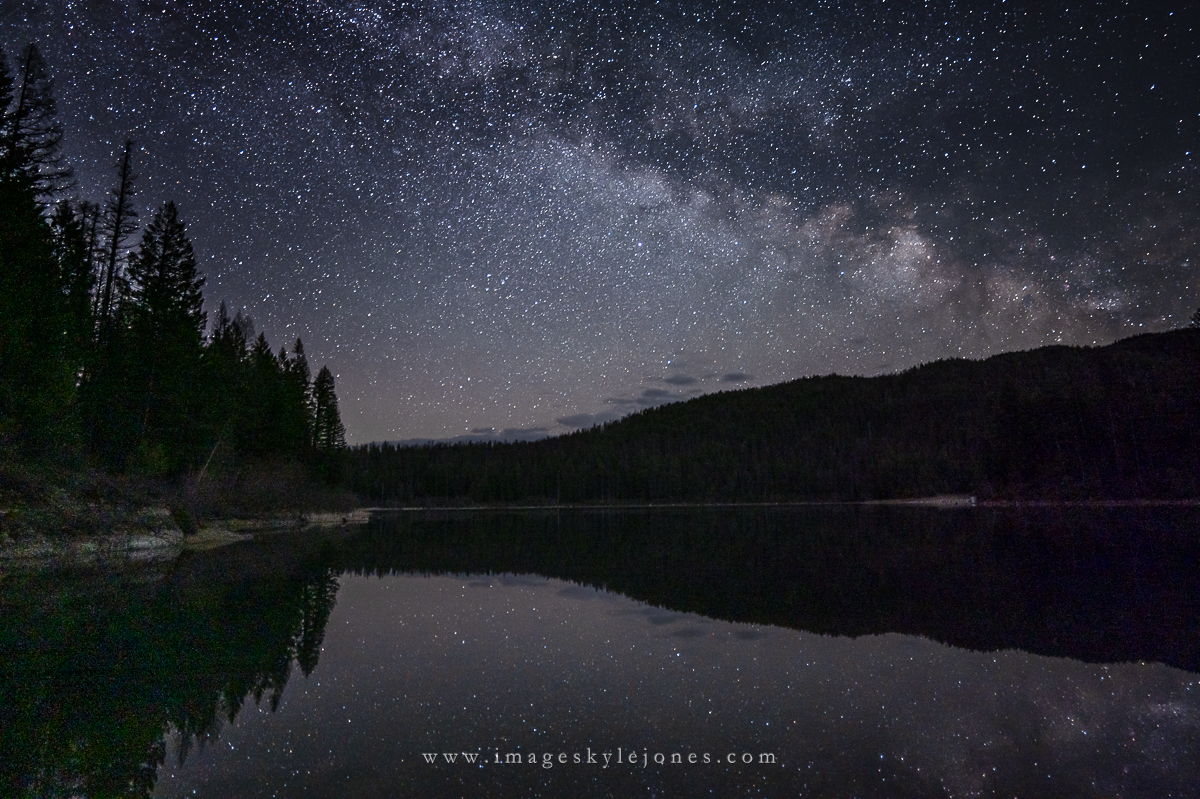
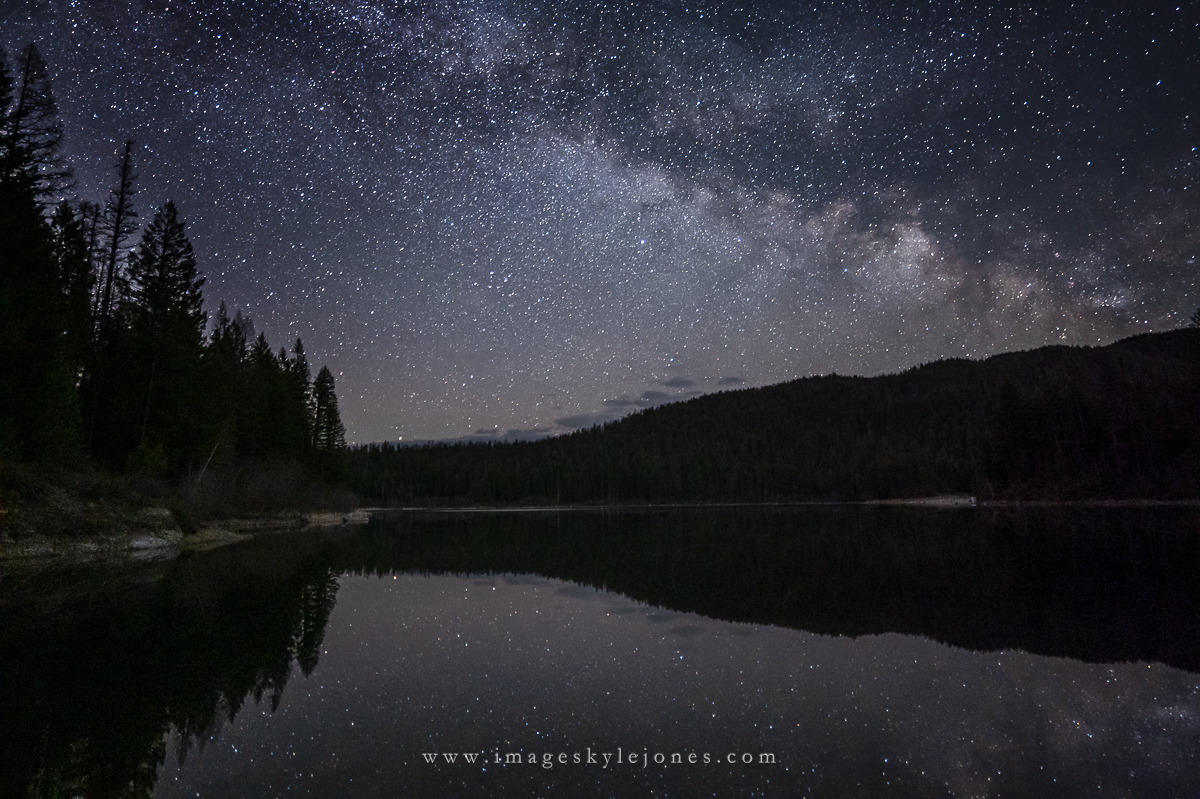
One of my hopes for this camera was that it would be a solid night performer, allowing me to take advantage of the glass (from Sigma in particular) available for the L-mount along with being able to easily adapt older Canon and Nikon lenses. My first night of testing was at the Hungry Horse Dam and at nearby Lion Lake. I'm sharing photos from the lake first, since the ambient light around the dam made that location "easier" for the camera. Lion Lake was in full darkness with no light on the foreground at all.
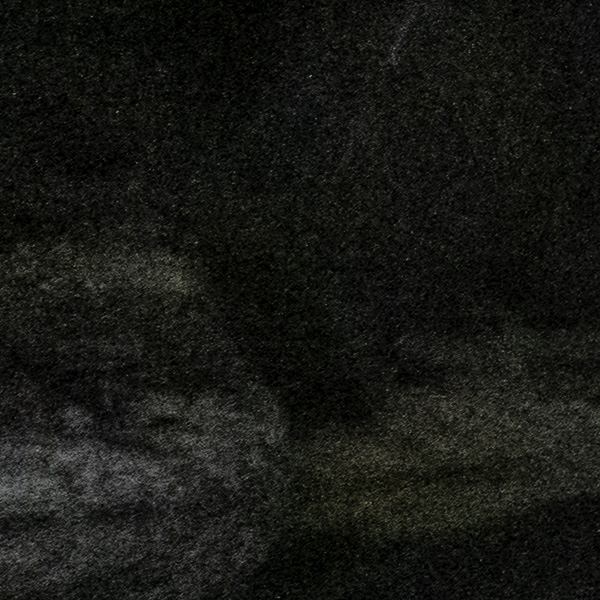
I captured five images in each sequence, all with the Lumix 18mm f/1.8 lens (I'd rate this lens as adequate for resolving stars but it's small size and weight make it awfully useful) wide open at f/1.8. Each exposure was for 20 seconds and I only varied the ISO between shots. Exposures were made at ISO 800, 1600, 2000 (I believe this is the 2nd native ISO which is why I included it), 3200, and 6400. I brought the images into Lightroom and did some basic processing, including pushing the shadows to see what detail was there. I wanted to keep the processing somewhat realistic, since I wouldn't want to base any decisions on how things look with the shadows pushed 5 stops. I did not use PureRAW or any of the AI noise reduction tools - just lightroom's older luminance noise reduction set at 20. I then used the exposure slider to balance the overall brightness of the image, with the ISO 800 image at +2, the ISO 6400 image at -1, and the others in between.
Here are the images:
ISO 800
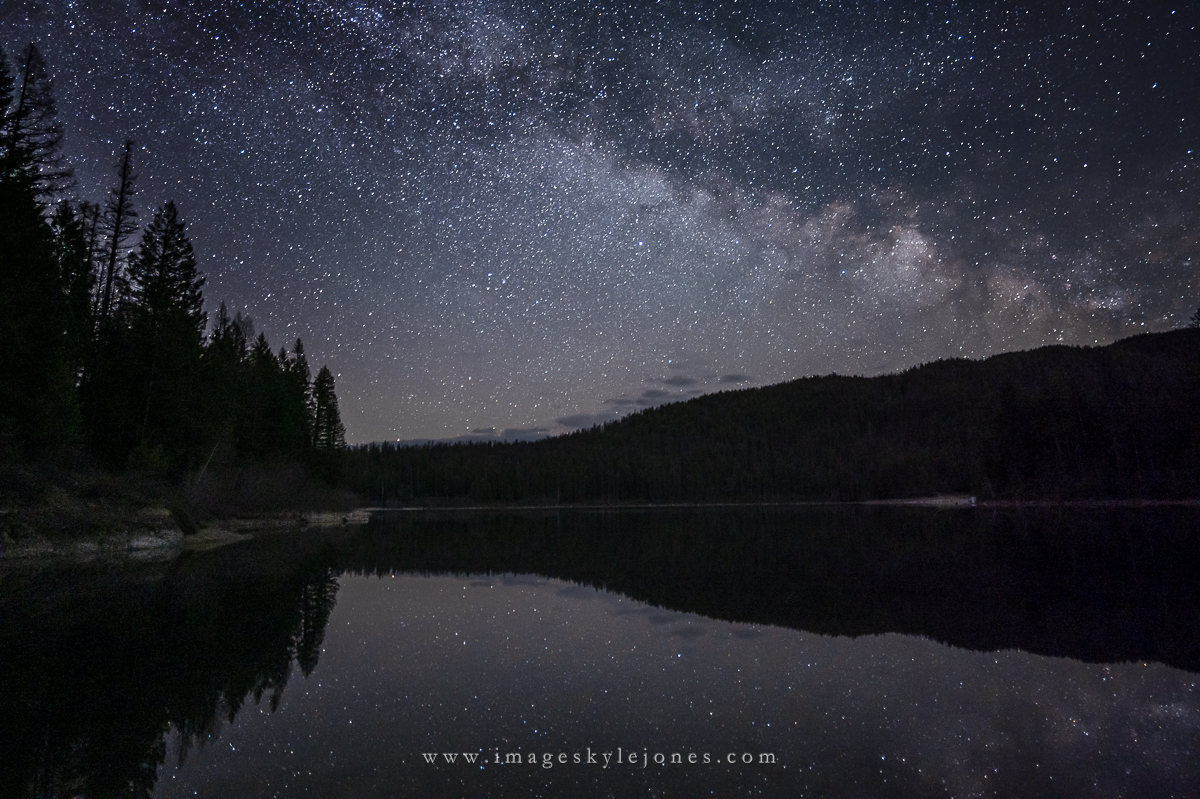
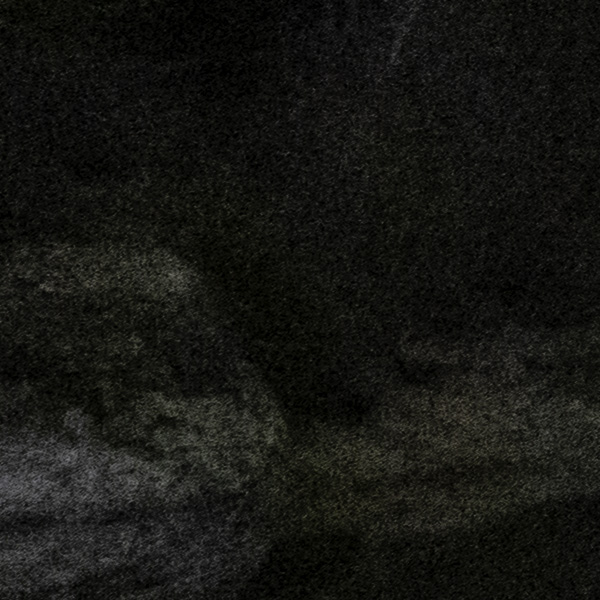
ISO 1600
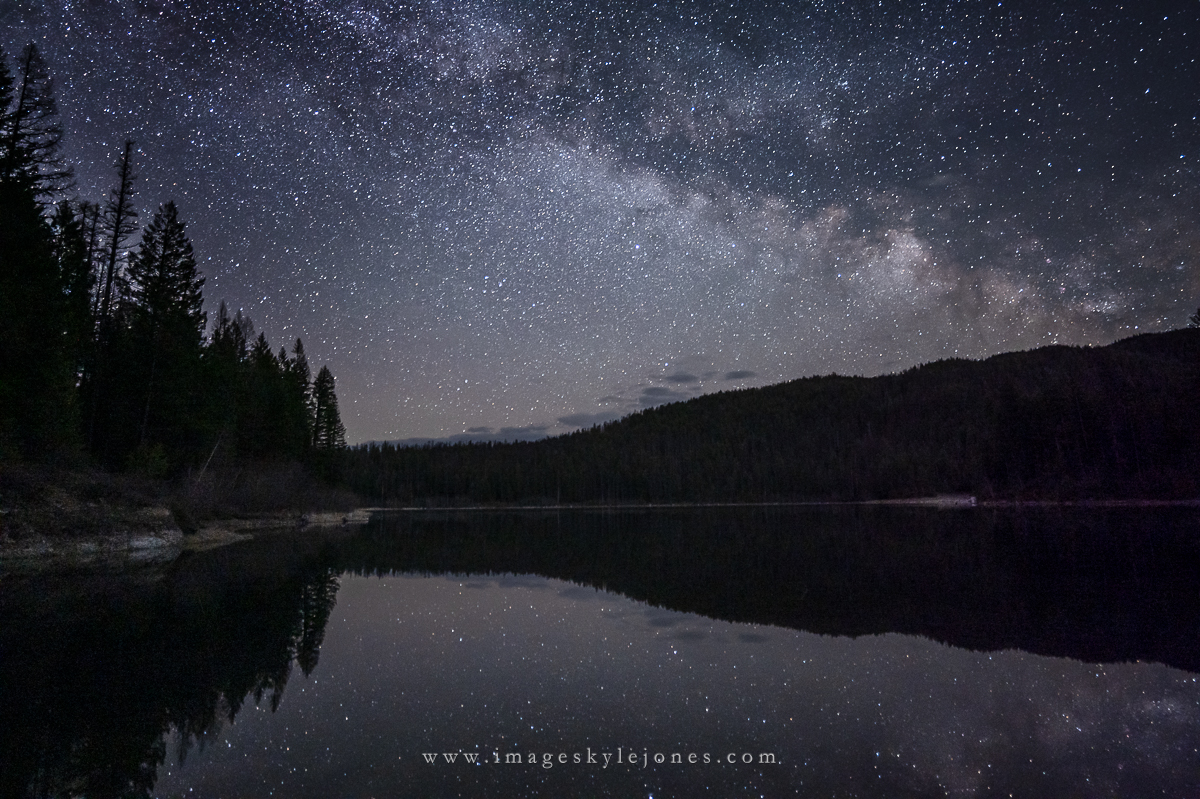
ISO 2000
ISO 3200
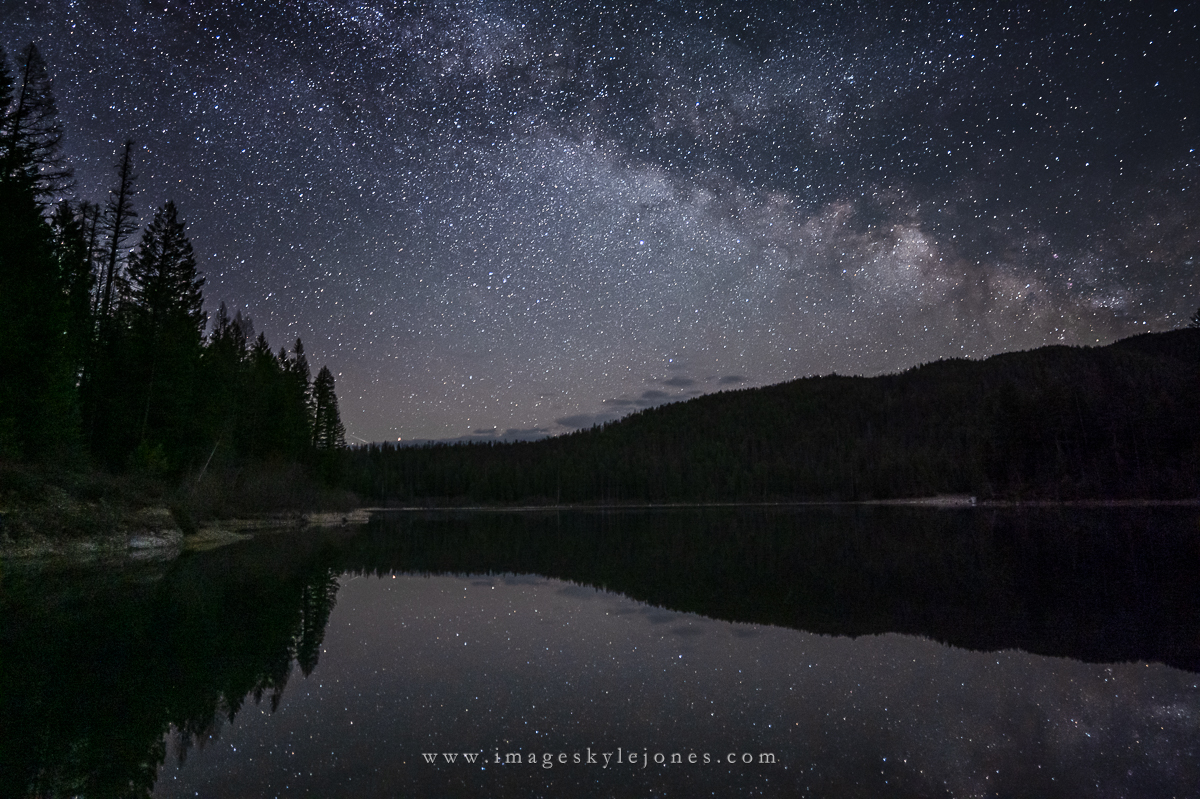
ISO 6400
The first thing that I noticed was that there is a green color cast in the shadows on the left side of the image and a magenta cast on the right. To my eye, the pushed ISO 800 image is definitely noisier than the others. The sweet spot for image quality looks to be between the ISO 1600 and 2000 as I would have expected going in. Strangely enough, although some of the detail has been lost, the ISO 6400 image looks a little cleaner than the ISO 3200. You can see this better in the 100% crops below.
ISO 800
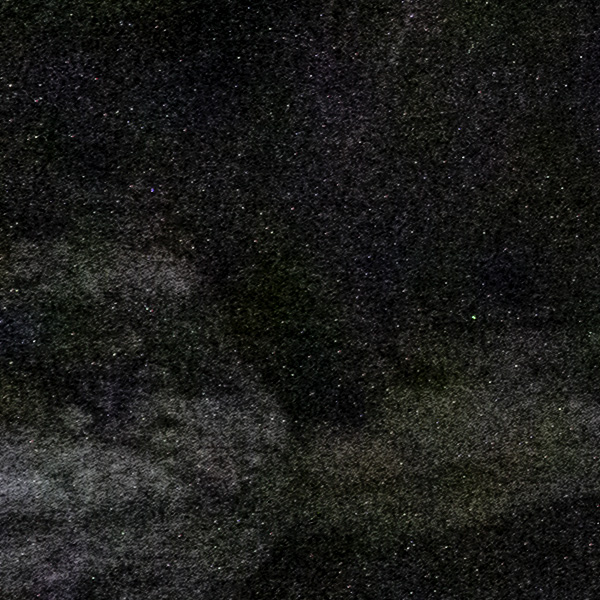
ISO 1600
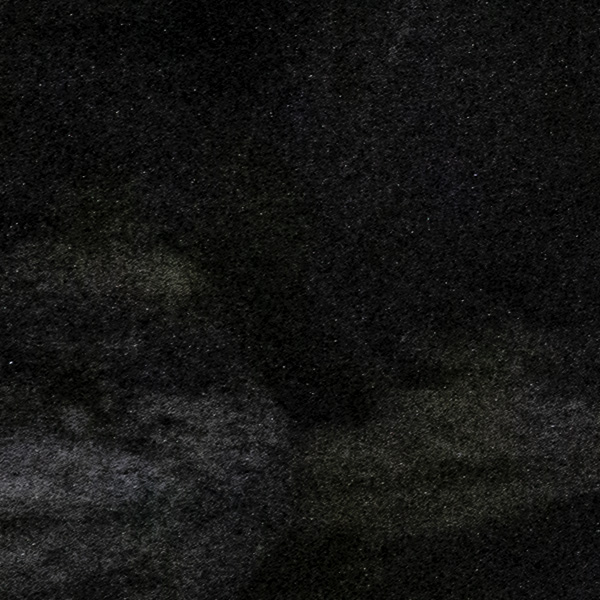
ISO 2000
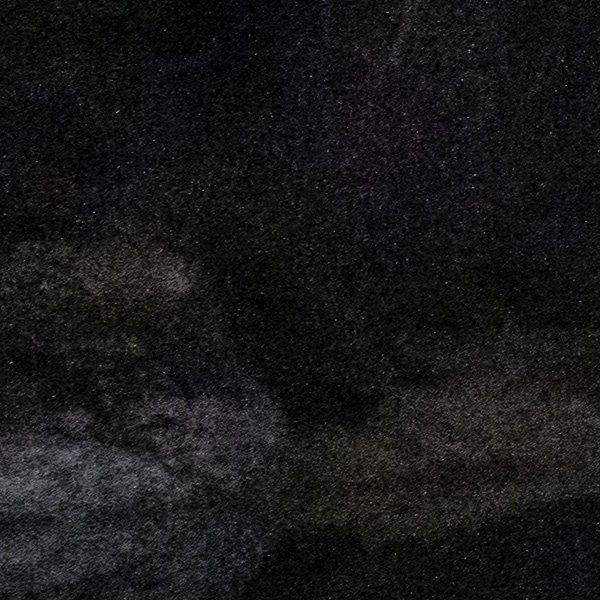
ISO 3200
ISO 6400
I captured five images in each sequence, all with the Lumix 18mm f/1.8 lens (I'd rate this lens as adequate for resolving stars but it's small size and weight make it awfully useful) wide open at f/1.8. Each exposure was for 20 seconds and I only varied the ISO between shots. Exposures were made at ISO 800, 1600, 2000 (I believe this is the 2nd native ISO which is why I included it), 3200, and 6400. I brought the images into Lightroom and did some basic processing, including pushing the shadows to see what detail was there. I wanted to keep the processing somewhat realistic, since I wouldn't want to base any decisions on how things look with the shadows pushed 5 stops. I did not use PureRAW or any of the AI noise reduction tools - just lightroom's older luminance noise reduction set at 20. I then used the exposure slider to balance the overall brightness of the image, with the ISO 800 image at +2, the ISO 6400 image at -1, and the others in between.
Here are the images:
ISO 800
ISO 1600
ISO 2000
ISO 3200
ISO 6400
The first thing that I noticed was that there is a green color cast in the shadows on the left side of the image and a magenta cast on the right. To my eye, the pushed ISO 800 image is definitely noisier than the others. The sweet spot for image quality looks to be between the ISO 1600 and 2000 as I would have expected going in. Strangely enough, although some of the detail has been lost, the ISO 6400 image looks a little cleaner than the ISO 3200. You can see this better in the 100% crops below.
ISO 800
ISO 1600
ISO 2000
ISO 3200
ISO 6400
")


